
Unlocking your creativity to design custom cards for games, gifts, or personal projects begins with the right foundation. For fans of the world's most popular trading card game, a high-quality Blank Magic Card Template is the essential starting point for bringing your unique ideas to life. Whether you're designing a custom commander for your playgroup, creating proxies for expensive cards, or even building an entire fan-made set from scratch, the template is your canvas. It provides the iconic frame, text boxes, and symbol placements that make a card instantly recognizable.
The desire to create custom Magic: The Gathering cards is as old as the game itself. Early players would often scribble ideas on basic lands or draw their own versions of cards. Today, the community has evolved, developing sophisticated digital tools and templates that allow for a level of polish nearly indistinguishable from official products. This evolution has empowered players, artists, and designers to explore new mechanics, revisit old ones, and share their passion for the game in a tangible, creative way. A well-designed template is more than just a blank slate; it's a gateway to participating in the game's rich design legacy.
This comprehensive guide will walk you through everything you need to know about crafting your own Magic cards. We will explore the fundamental anatomy of a card, highlighting the details that give it an authentic feel. We'll cover the best places to find high-quality templates, from simple image files to fully layered professional design files. Furthermore, we will provide a step-by-step tutorial on using these templates, offer crucial design advice to make your cards look stunning, and discuss the important legal and ethical lines to be aware of. By the end, you'll be fully equipped to turn your most imaginative concepts into beautifully rendered custom cards.

Understanding the Anatomy of a Magic Card
Before you can effectively use a template, it's crucial to understand the distinct elements that make up a Magic card. Each component serves a specific purpose, and their correct placement, font, and style are key to creating a believable and professional-looking custom card. A good template will have separate layers or editable sections for each of these parts.
The Frame and Color Identity
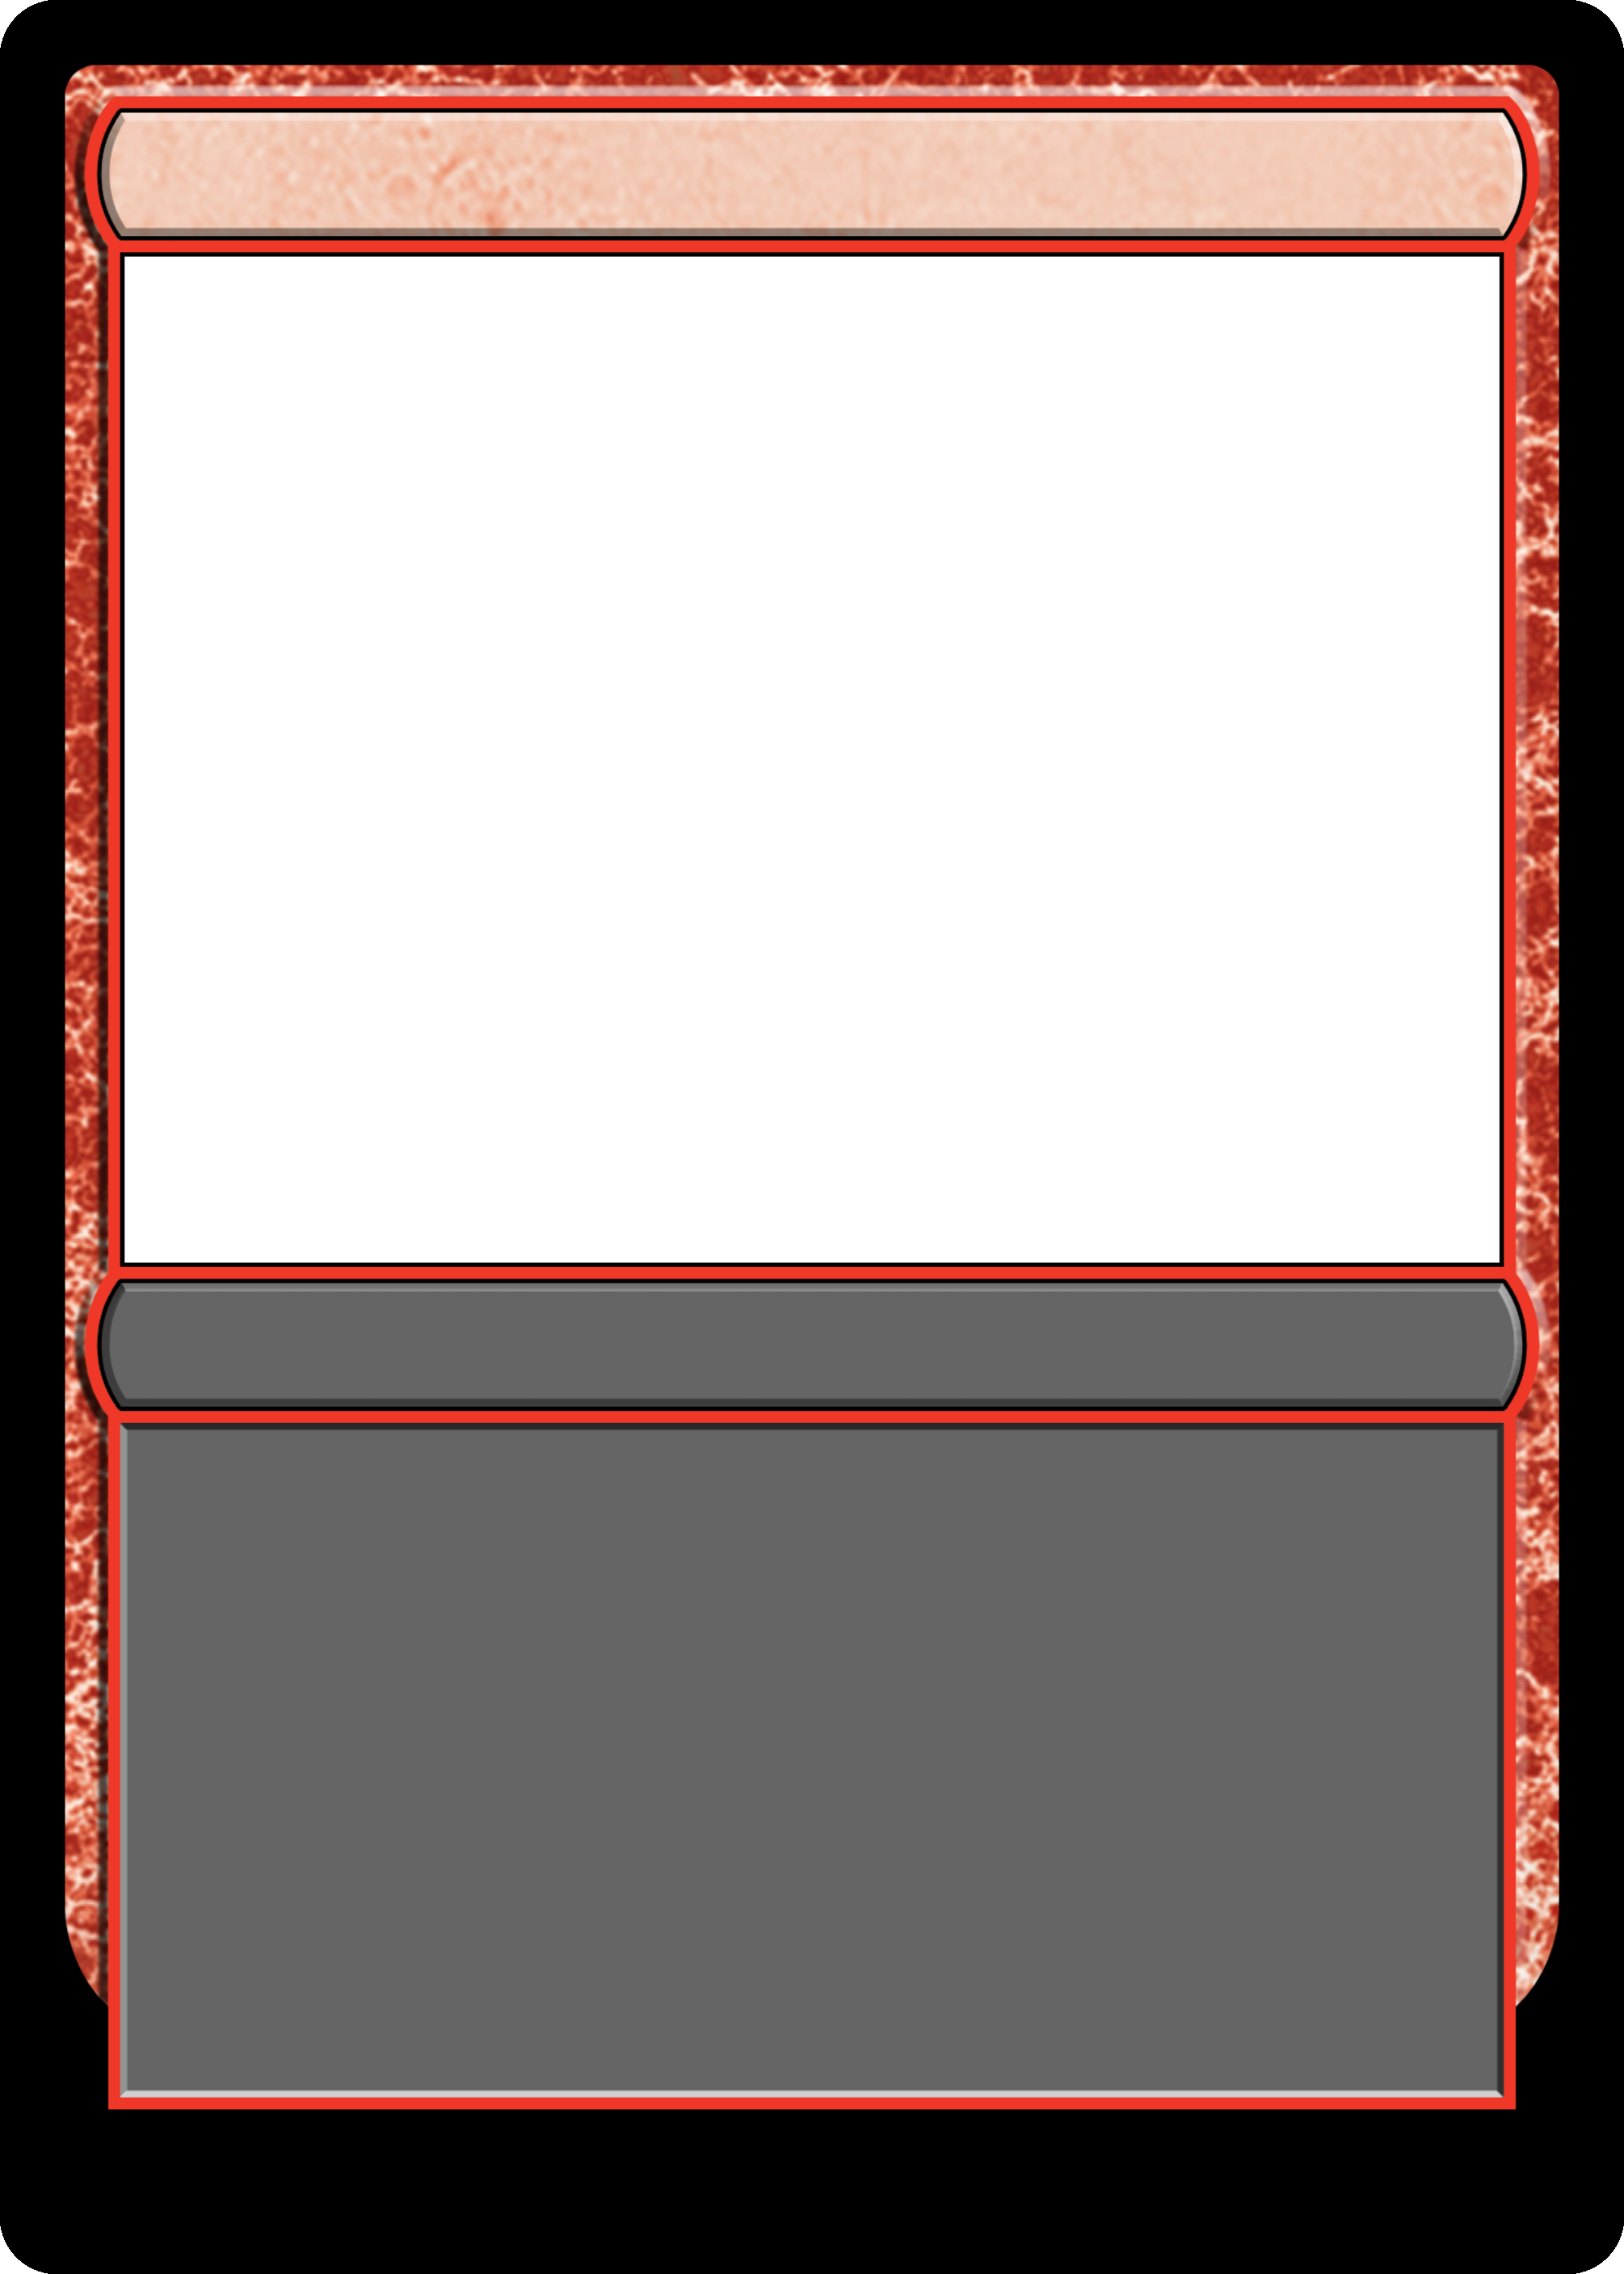
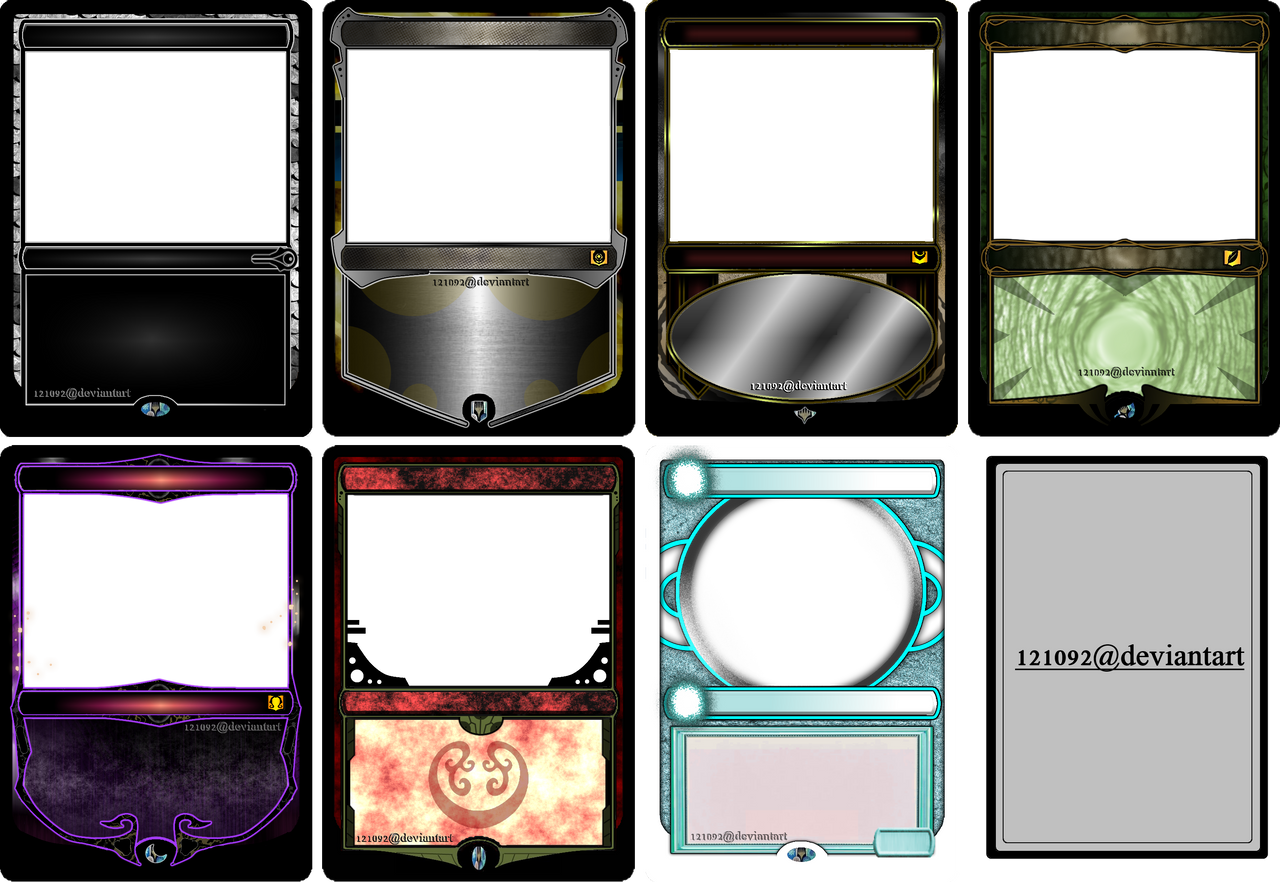
The most prominent feature of a card is its frame. The frame's color and design communicate the card's color identity at a glance.
* Monocolored: Frames for white, blue, black, red, and green cards each have a distinct texture and hue.
* Gold (Multicolored): Cards with two or more colors use a golden frame.
* Hybrid: Hybrid cards feature a split, gradient-style frame combining the colors of their mana costs.
* Colorless/Artifact: Artifacts have a silvery or greyish frame, while true colorless cards (like the Eldrazi) have a unique, almost transparent frame.
* Land: Land frames have a darker, earthier tone.
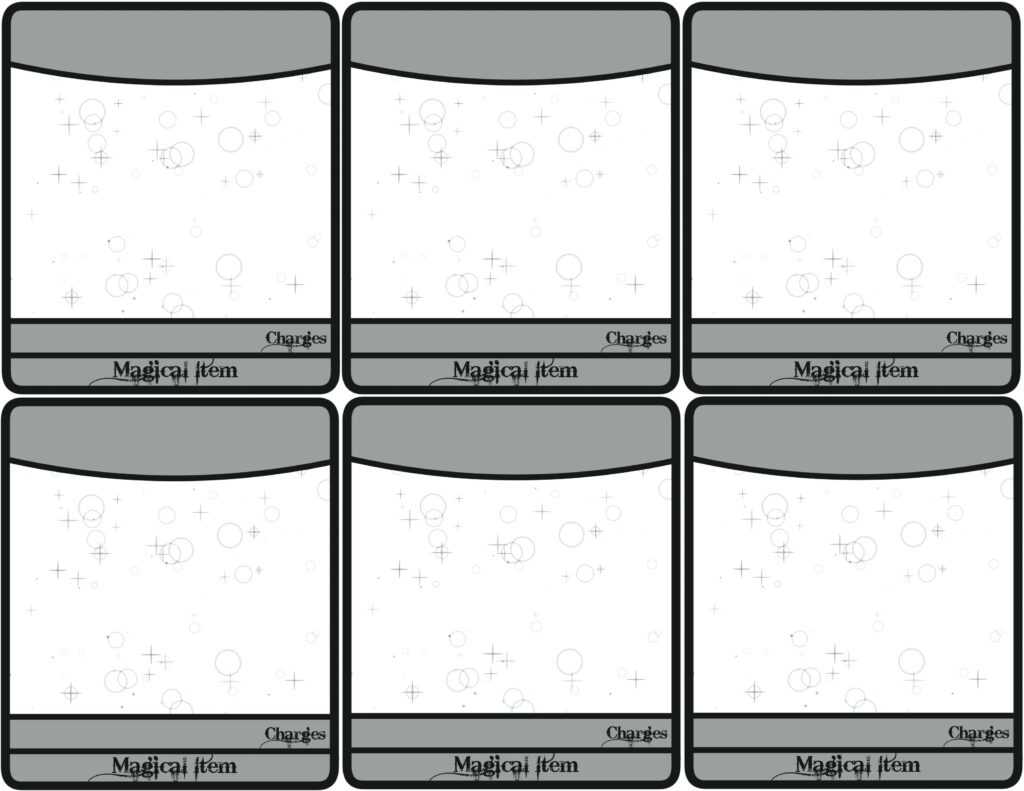
* Special Frames: Over the years, numerous special frames have been introduced, such as Legendary crowns (since Dominaria), Sagas, Adventures, and various showcase styles. A good template collection will include these variations.

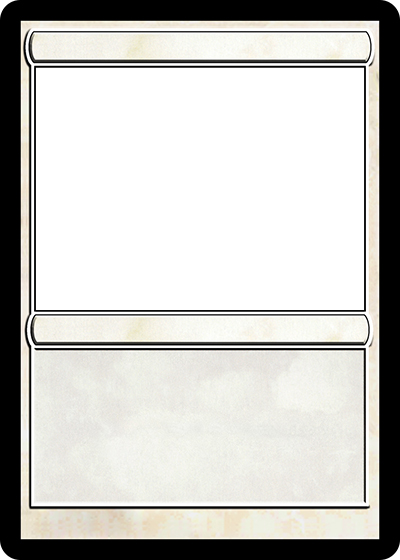
The Art Box
This is the central window of the card where the illustration goes. The art is the heart of the card's flavor. Your template should have a clearly defined layer or mask for the art box, ensuring your chosen image fits perfectly without obscuring other elements.

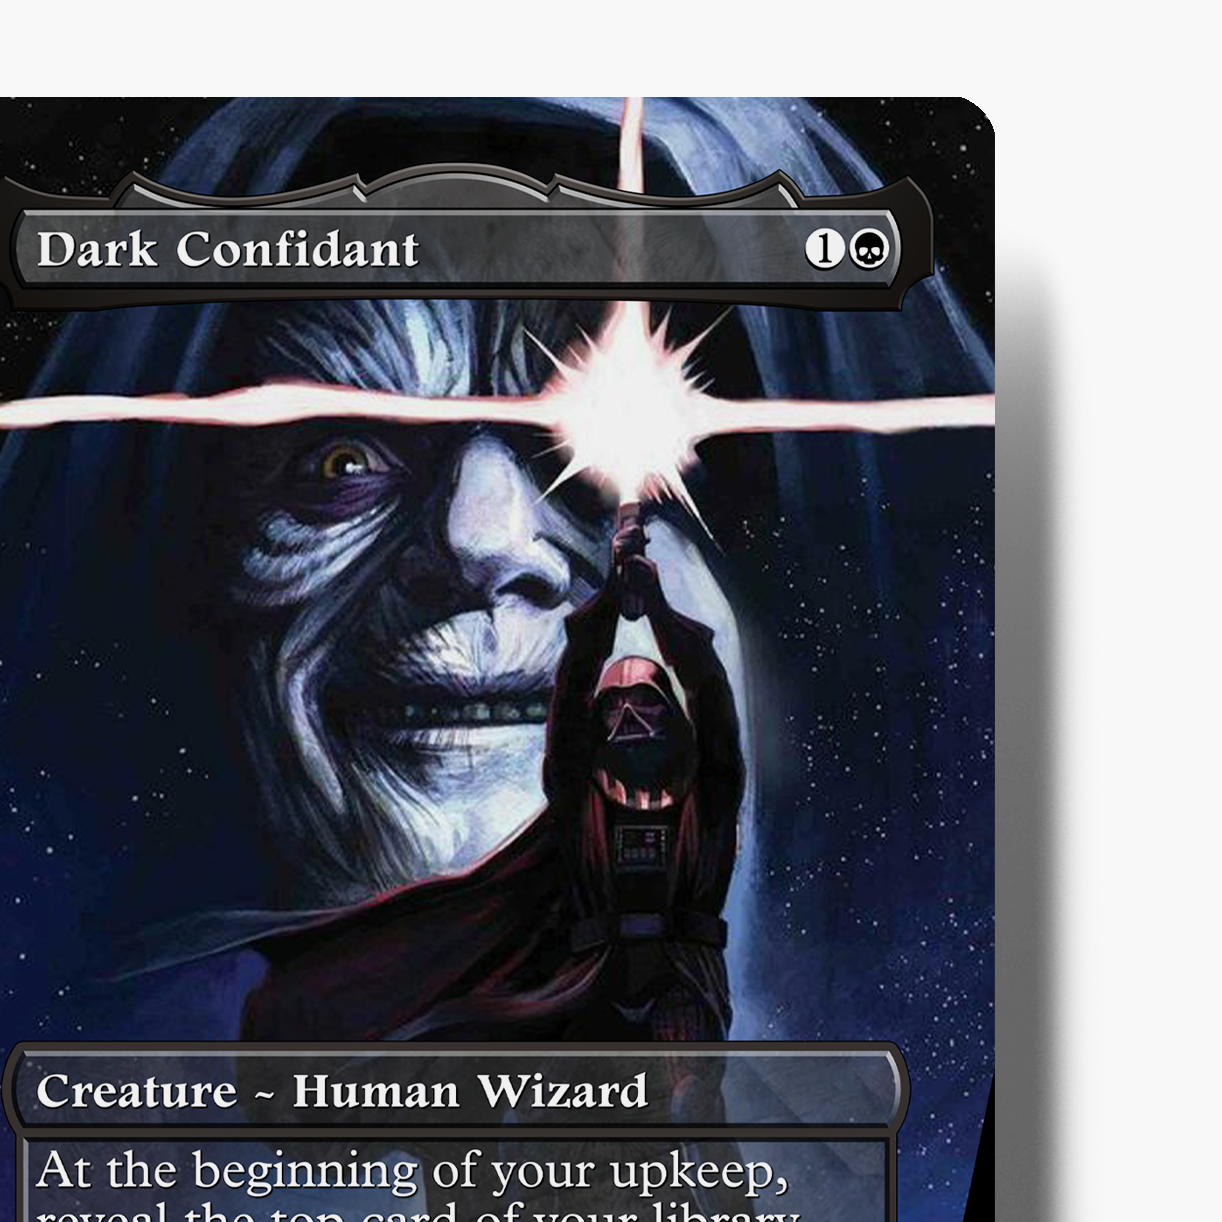
The Name and Mana Cost
Located at the top of the card, the card name and its mana cost are fundamental identifiers. The mana cost is displayed to the right of the name using specific mana symbols (plains, island, swamp, mountain, forest, colorless, and generic numbers). The font and shadow effects on the card name are subtle but important details.

Type Line and Expansion Symbol
Below the art box is the type line. This line defines what the card is (e.g., "Creature — Human Soldier," "Instant," "Legendary Enchantment"). To the right of the type line is the expansion symbol, which indicates the set the card belongs to and its rarity (black for common, silver for uncommon, gold for rare, and orange/red for mythic rare).

The Text Box
This is where the magic happens. The text box contains the card's abilities, rules text, and often flavor text (italicized text that adds to the card's story but has no game effect). For creature cards, the power and toughness box is located in the bottom right corner, overlaying the text box. The texture and color of the text box background also correspond to the card's color identity.

Artist Credit and Collector Info
At the very bottom of the card is a thin bar containing fine print. This includes the artist's credit on the left, and collector information on the right, such as the card number, set code, and language. These small details add a final layer of authenticity to your creation.
Where to Find a High-Quality Blank Magic Card Template
Finding the right template depends on your technical skill and desired level of customization. There are several excellent resources available, catering to everyone from absolute beginners to professional graphic designers.
Dedicated Card Creator Websites
For the vast majority of users, online card creators are the fastest and easiest option. These websites provide a user-friendly interface where you simply fill in fields and upload your art.
* MTG.Design: A sleek, modern, and very intuitive web-based tool. It offers a wide variety of modern frames, including special versions like Sagas and planeswalkers. It handles text formatting and mana symbol placement automatically.
* MTG CardSmith: One of the older and more well-known creators. While its interface might feel a bit dated, it has a massive community and a gallery of user-created cards for inspiration.
* CardConjurer (Forks): The original CardConjurer was a beloved and powerful tool. While the official site is down, several community-run "forks" or clones exist with its feature set. These often have the most up-to-date frames and the highest degree of customization available in a web tool, including custom watermarks and foil effects.

Downloadable Photoshop and GIMP Templates
For those who want ultimate control and the highest possible quality, layered template files for programs like Adobe Photoshop or the free alternative GIMP are the way to go. These files, typically in .PSD format, come with every single card element on a separate, named layer. This allows you to tweak colors, move elements, change fonts, and apply advanced effects. You can find these templates through:
* Online Communities: Reddit's r/custommagic and various Discord servers are hubs for designers who share and update these advanced templates. Searching for "MTG PSD templates" will often lead to community-maintained repositories.
* Art and Design Forums: Websites and forums dedicated to digital art and game design sometimes host these resources.

Vector-Based Templates (Illustrator, Inkscape)
For the truly dedicated designer, vector templates for programs like Adobe Illustrator or the free Inkscape offer unparalleled quality. Unlike raster (pixel-based) templates like PSDs, vector graphics are based on mathematical equations. This means you can scale them to any size without any loss of quality. Text, mana symbols, and frame elements will always be perfectly crisp. These are less common but are the professional standard for high-resolution printing.
Step-by-Step Guide: Using Your Template
Let's walk through the typical process of creating a card using a layered Photoshop/GIMP template, as this method offers the most insight into how a card is constructed.

Step 1: Choosing and Opening Your Template
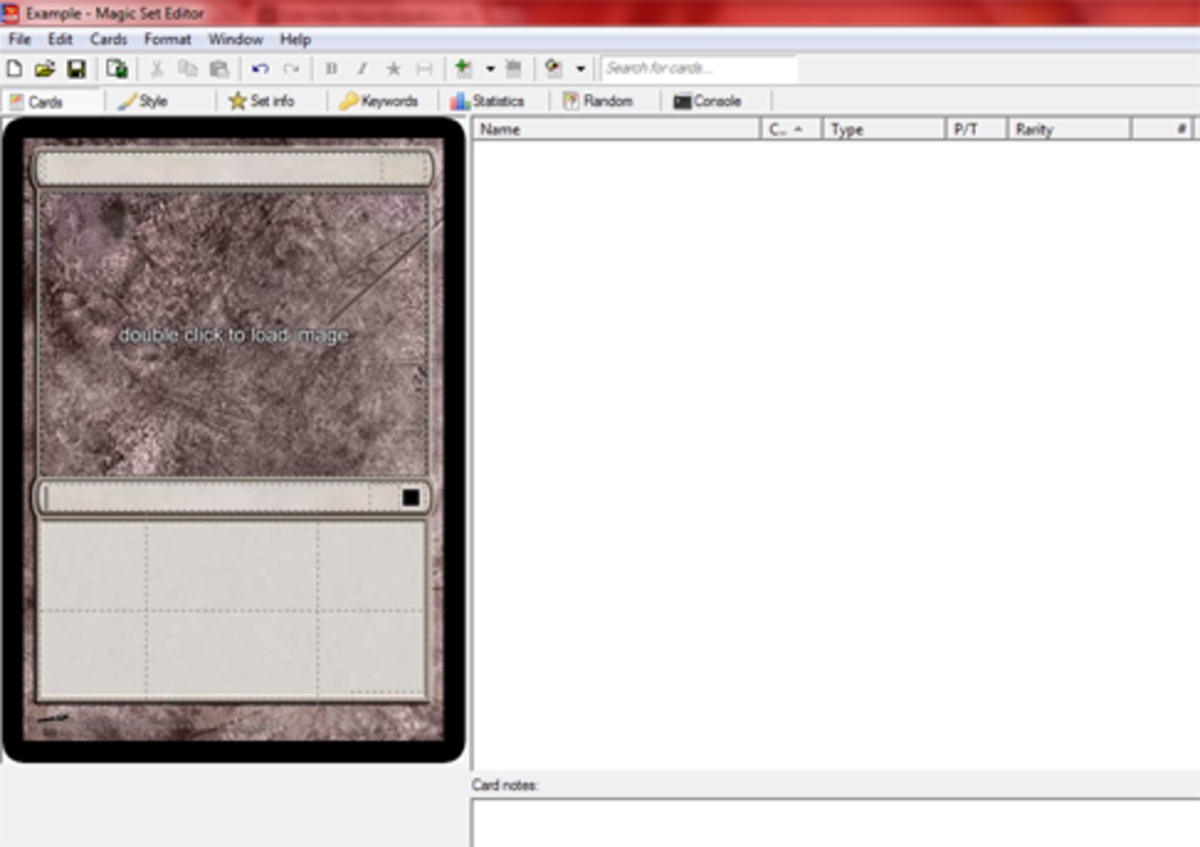
First, find a template that suits the card you want to create. Ensure it includes the correct frame (e.g., a standard M15 frame, a legendary frame, or a planeswalker frame). Download the PSD file and open it in your image editing software. You will see a complex list of layers and layer groups in your layers panel.

Step 2: Understanding the Layers
Take a moment to familiarize yourself with the layer structure. A good template will have everything neatly organized into folders (layer groups). You might see folders for "Frame," "Text," "Art," "Mana Symbols," and "Expansion Symbol." Expand these folders to see the individual elements. You can toggle the visibility of layers by clicking the eye icon next to them to see what each one does.
Step 3: Adding Your Artwork
Find the layer or group designated for the card art. It's often named "Artwork" or "Your Art Here" and may be a Smart Object in Photoshop. Double-click the Smart Object thumbnail or paste your image onto the designated art layer. Position and resize your art to fit perfectly within the art box. The template should have a mask that automatically crops the art to the correct shape.
Step 4: Customizing Text Fields
Navigate to the "Text" group. Here you will find separate text layers for the Card Name, Type Line, Rules Text, and Flavor Text. Select the Type Tool (T) and click on a text layer to edit it. The template should already have the correct fonts (like Beleren for the name and MPlantin for the rules text) and sizes pre-set. If not, you may need to download and install these fonts separately. Type in your custom text for each field.

Step 5: Setting Mana Cost, P/T, and Expansion Symbol
These elements are often more complex than simple text.
* Mana Cost: This may involve turning on the visibility of specific mana symbol layers and positioning them correctly. Some templates use a special font where typing a letter (like 'G') produces the green mana symbol.
* Power/Toughness (P/T): Locate the P/T box layer group at the bottom right. There will be text layers for the numbers you can edit.
* Expansion Symbol: The template will likely have a folder of common, uncommon, rare, and mythic symbols. Simply make the layer for your desired rarity visible.
Step 6: Exporting for Print or Digital Use
Once your card is perfect, you need to save it in the right format.
* For Digital Sharing: Go to File > Export or Save for Web. Choose JPEG or PNG format. A resolution of 72 DPI is standard for web use.
* For Printing (Proxies): You need a much higher quality file. Go to File > Save As and choose a lossless format like TIFF or a high-quality PDF. The resolution should be at least 300 DPI, and ideally 600 DPI, to ensure it looks sharp when printed. Ensure the dimensions are correct for a standard Magic card (2.5 x 3.5 inches or 63 x 88 mm).
Essential Design Principles for Authentic-Looking Cards
Using a template is one thing; using it well is another. Adhering to a few key design principles will elevate your custom cards from looking amateurish to appearing indistinguishable from the real thing.
Font Consistency and Legibility
The single biggest giveaway of a custom card is incorrect font usage. Magic: The Gathering primarily uses the Beleren font for card titles and type lines, and the MPlantin font for rules and flavor text. Stick to these fonts and use the appropriate sizes and weights. Ensure there is enough contrast between the text and the text box background for easy reading.
Mastering Mana Symbols
Blurry or incorrectly formatted mana symbols are another common mistake. Use high-resolution symbol images or, even better, a dedicated mana symbol font. Pay close attention to the order and spacing of symbols in the mana cost. For abilities in the text box, the symbols should be the correct size relative to the surrounding text.
The Importance of High-Resolution Assets
Your final card will only be as good as its weakest component. Always start with a high-resolution template and use high-resolution artwork. A beautiful illustration will be wasted if it looks pixelated when placed in the card frame. When sourcing art online, always seek out the highest quality version available and, most importantly, always credit the artist in the designated spot on the card.
Writing Clear and Concise Rules Text
A card's design isn't just visual; it's also mechanical. To make your card feel authentic, try to follow Wizards of the Coast's templating conventions. Use standard keywords (e.g., Flying, Trample, First strike) correctly. Phrase abilities clearly and unambiguously. Reading a few official cards with similar effects can provide a great guide for how to word your own abilities.
Legal and Ethical Considerations
Creating custom cards is a fun and rewarding hobby, but it comes with important responsibilities. It is essential to understand the difference between personal use and illegal activity.
Proxies vs. Counterfeits
A proxy is a placeholder for a real card that you own (or can't afford) for use in casual play, deck testing, or formats like Commander where proxies are often accepted. A proxy is not intended to deceive. A counterfeit, on the other hand, is an illegal reproduction created with the intent to be passed off as a genuine WotC product for financial gain. Creating and selling counterfeits is illegal and harmful to the game and community. Your custom creations should always be for personal, non-commercial use.
Art and Copyright
Art is protected by copyright. When you find an image online, it belongs to the artist who created it. You should only use artwork that you have explicit permission to use, that is licensed for free use (like some Creative Commons licenses), or that you have commissioned yourself. Regardless of the source, it is a critical and non-negotiable ethical practice to always credit the original artist on the card. Never claim someone else's art as your own.
Advanced Techniques for Your Blank Magic Card Template
Once you've mastered the basics, you can explore more advanced techniques to push your creativity even further.
Creating Custom Frames and Elements
Using a layered template in Photoshop or GIMP, you can go beyond just filling in the blanks. You can create entirely new frames for a custom set with a unique theme. This could involve changing the frame's texture, adding new graphical elements, or designing a layout for a brand-new card type you've invented.
Foiling and Special Treatments
You can simulate the look of a foil card for digital mockups. This usually involves creating a new layer with a holographic gradient or texture, setting its blend mode to "Overlay" or "Soft Light," and placing it over your entire card. For printing, some specialized services allow you to upload separate foil mask layers, where you define exactly which parts of the card should have a holographic finish.
Batch Creation and Automation
If you're designing an entire set of cards, creating them one by one is incredibly time-consuming. You can automate this process. In Photoshop, you can use "Variables" and link them to a spreadsheet (CSV file) containing all your card data (names, mana costs, rules text, etc.). With a single action, you can generate hundreds of unique card files, saving an immense amount of time.
Conclusion
The journey from a simple idea to a fully realized custom Magic card is a deeply rewarding creative process. A Blank Magic Card Template is your most crucial tool, serving as the bridge between your imagination and a tangible design. We've explored the detailed anatomy of a Magic card, identified the best resources for finding high-quality templates, and provided a clear guide to bring your vision to life.
By focusing on the core principles of authentic design—correct fonts, high-resolution assets, and clear templating—you can elevate your creations to a professional standard. Most importantly, always remember the ethical responsibilities of a creator: respect copyright, credit artists, and keep your creations for personal enjoyment rather than commercial gain. Now, with the knowledge and tools at your disposal, it's time to open that template, unleash your creativity, and start crafting the unique cards that only you can dream up.
0 Response to "Craft Your Blank Magic Card Template"
Posting Komentar